So I too have gotten the bug and am now feeling better. Since then the tutorial I had originally planned well lets just say I wanted to do something else. So hear it is.
The supplies you will need are....
A pillow case
fabric for lining
Elastic
A cutting tool
Measuring tool
Pins
Iron
A sewing machine
First you will want to cut the sewn end of your pillow case. I just cut the surged edge off. Then place fold your lining fabric and cut one inch longer on the end and 1/4th inch longer on the side.
Sew your lining on the long side at the 1/4 inch that you just cut as a seam allowance.
Press your seam open.
At what will be your hem where you cut one inch past your pillow case end you will fold at 1/4th inch iron and again fold and iron. Then you will stitch along the edge of your 1/4th hem all the way around.
Next your will place your pillowcase rite side out under your lining which is right side out. The pillowcase is now inside the lining. Pin the two together all the way around and sew at 1/2 inch.
They will look like this at the hem.
Pull your pillow case inside out from the top and it will look like this.
Press your seem toward your now top of your skirt.
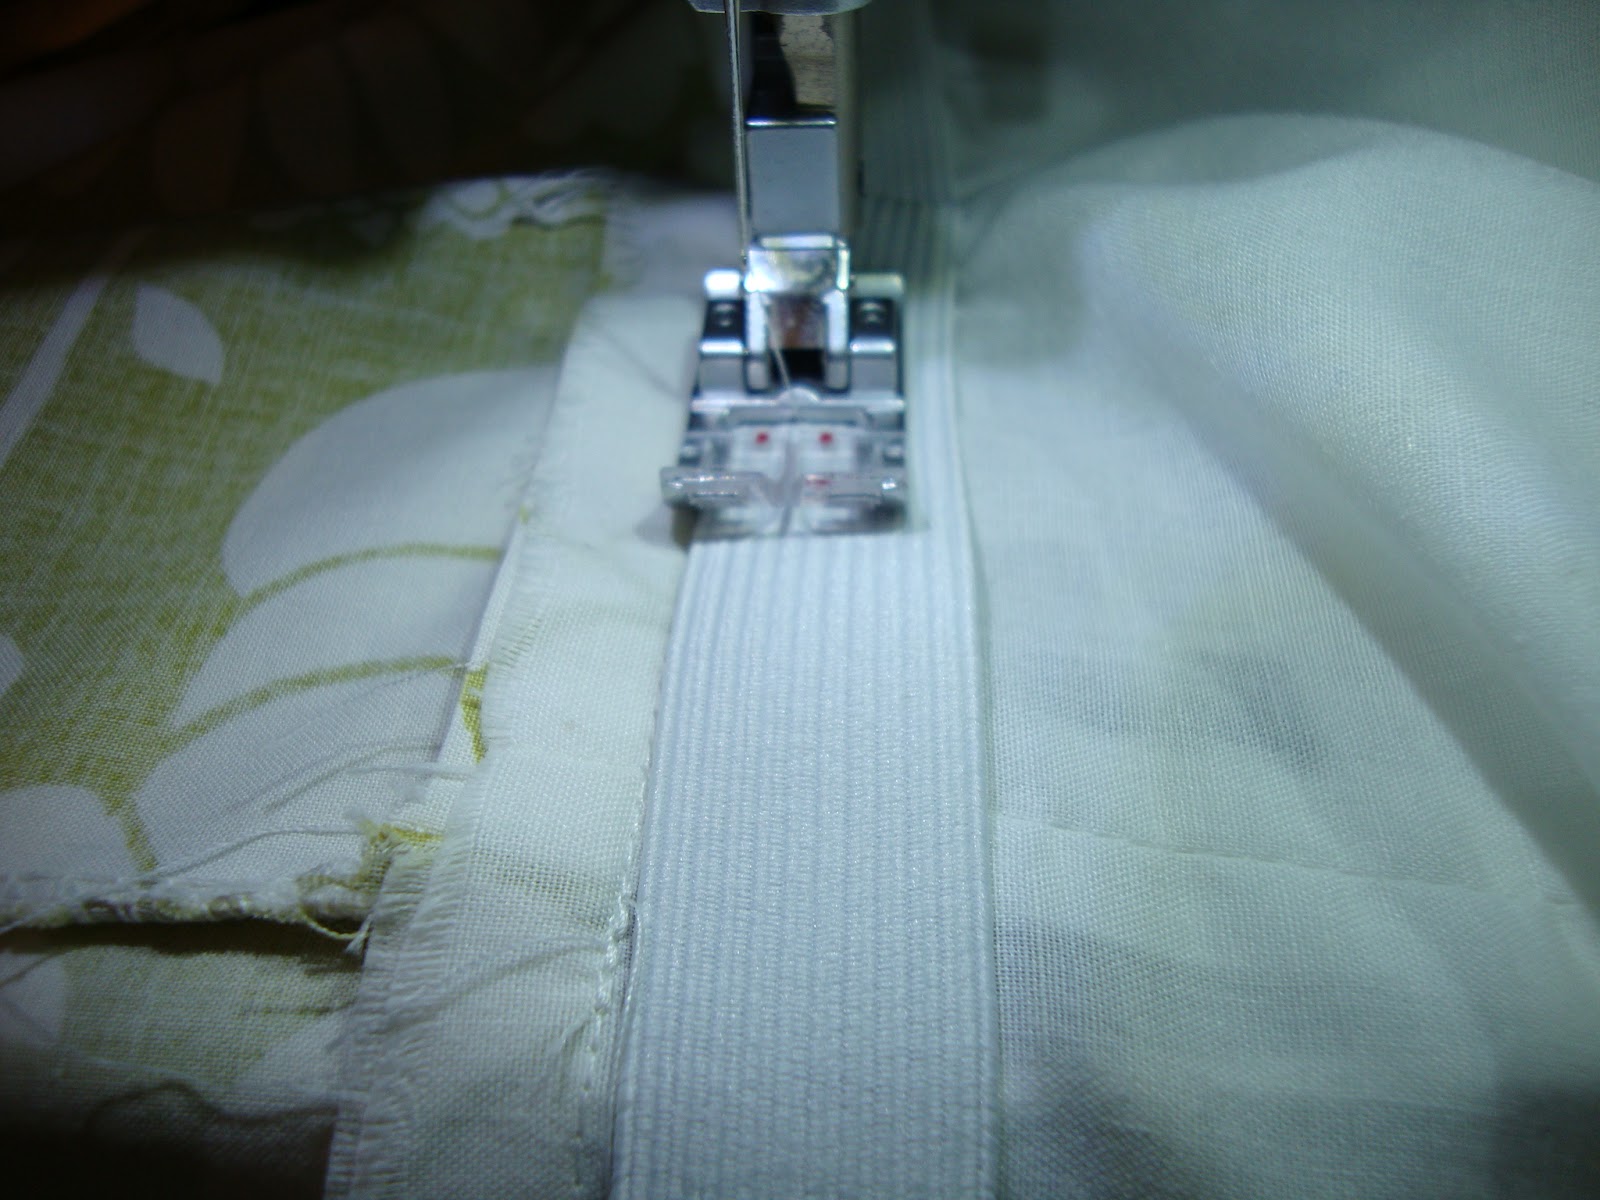
Elastic time. I would have like to have used half inch elastic but I had 3/4 elastic.
Put on the machine like this and stitch using an elastic stitch all the way around. Stretch your elastic as you sew from the front to the back. Stretching the back as well as the front will put less stress on your machine.
When you turn your dress right side out it will look like this. The elastic is toward the inside and your raw edges are hidden with the elastic.
Put the lining inside the dress and iron all the way around your dress.
The inside looks like this.
Presto your done. Style with a wide belt or scarf which is what I had and you have a pillow case dress that is meant for you and not your daughter. Oh special thanks to my 5 year old for taking the picture of the final product.
Have a great Easter weekend and I will keep you posted about my online store.
Allison
http://www.youtube.com/watch?v=4OjiOn5s8s8&ob=av2e


6 comments:
Wow! That looks great! Perfect for Spring/Easter!
Love your vintage sheet dress. Your tutorial is very easy to understand.
I was looking at your blog and you are making me want a vintage sewing machine.
In your profile you mentioned that you are new to blogging. I have one little tip for you. If you put a picture of the finished project at the top of your post, it will help people who follow your blog on an RSS feed or who read your blog on a mobile device. Then have another photo of the finished product at the end too.
LMK if you need help promoting your online store. :)
Thank you for linking up on the Vintage Sheet Blog Weekend Link Up Party.
Thank You Heather. I will add a pic today. The vintage sheet blog was one of my first blogs to follow on blogger. The online store is still in the works and I appreciate the help. So far I have 3 vintage machines. I just love them. They are very forgiving and if they are all metal they have a slight industrial quality to them. If it still sews its ok is what my repair man told me once. Of course I wouldn't recommend pushing them to the extreme. :)
Have a great weekend.
Allison
I love this dress. It's fast and simple to make. My favorite kind of projects
Thanks Nancy. Fast and simple was the inspiration.
So very cute!!
Post a Comment